 how-to
How Do You Arrange a Gallery Wall on a Staircase?
Last Updated: November 9, 2026
Quick Summary
Arrange a staircase gallery wall by running the bottom edge of your frame group parallel to the stair pitch, not level to the floor. Measure frame centers roughly 57 to 60 inches vertically from each step, then map the layout on paper before hanging.
- Measure from the stair nose, keep spacing consistent along the slope, and treat frame sizes as a group.
- Calculate pitch as arctan(rise divided by run), or use a digital angle finder on the stringer.
- For 16-inch frames with 3-inch gaps, the center-to-center distance is 19 inches along the slope.
- Small arrangements work best with three to five frames in a single diagonal run, spaced 2 to 3 inches apart.
- Keep the bottom 12 inches of wall clear so nobody clips a frame on the stairs.
Table of Contents
- Start With the Stair Angle, Not a Level Line
- How to Arrange Photos on Staircase Walls: Measure, Map, and Hang
- Build a Staircase Wall Gallery Template That Fits Your Space
- Small Gallery Wall Arrangements for Staircases That Still Feel Full
- Modern Gallery Wall Arrangements for Staircases: Clean Lines and Mixed Frames
- Hang Safely on Stairs: Wall Types, Hardware, and Renter-Friendly Options
- Light, Glare, and the View From the Bottom Step
- Choose Artwork That Earns Its Place on the Stair Wall
- Frequently Asked Questions
Start With the Stair Angle, Not a Level Line
Most people hang art on a staircase the way they hang it in a hallway: level to the floor.
The art may be beautiful, but the arrangement can still fight the stairs.
Gallery wall arrangements for staircases are not harder than flat-wall layouts. They just need a different starting line.
A few things change once you accept the diagonal:
- You measure from the stair nose, not the ceiling
- Spacing has to stay consistent along a slope
- Frame sizes need to work as a group, not one at a time
Get those three right and the rest is detail. Get them wrong and no amount of nice frames rescues it.
How to Arrange Photos on Staircase Walls: Measure, Map, and Hang
The best way to arrange photos on staircase walls is to measure first, map second, and hang last. Skipping the mapping step is a common mistake, and it can cost extra nail holes and patched drywall.
Measure the Wall and Set Your Centerline
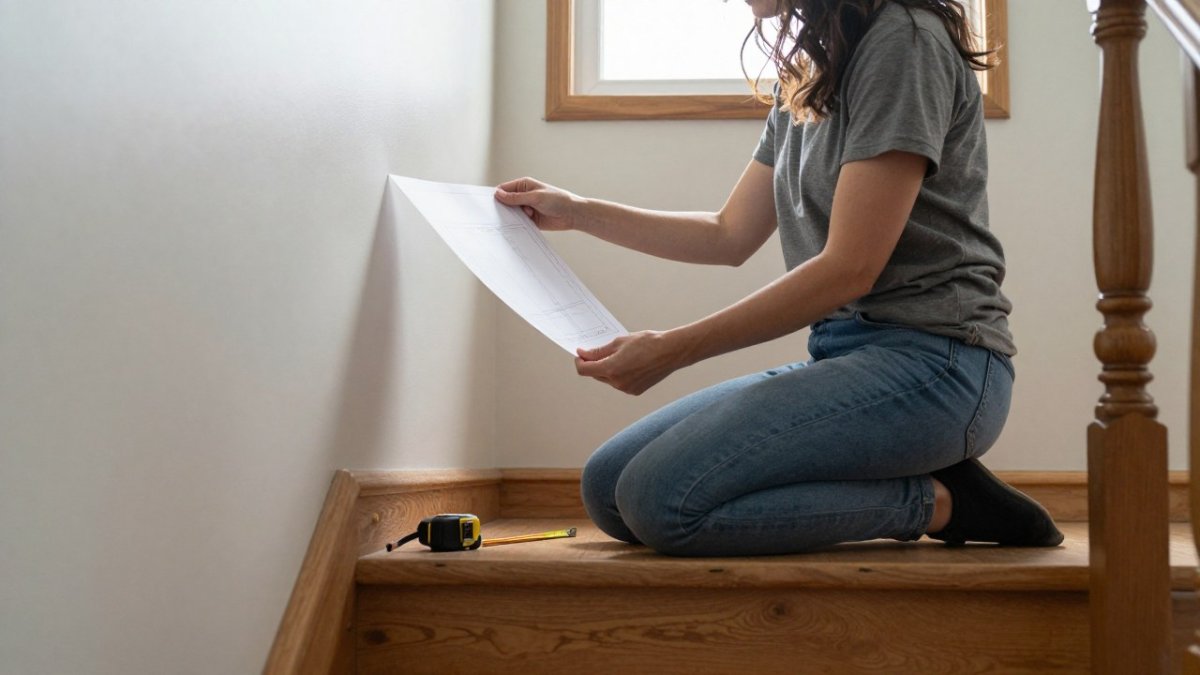
Start at the bottom step. Measure the vertical distance from the stair nose up to where you want the lowest frame's center.
Next, find your centerline. Mark a point on the wall above the middle of the staircase run. Run a chalk line or a laser level down at the same angle as the stair pitch. That diagonal is your spine.
Write down three numbers before you go further:
- Total wall length along the slope
- Wall height at the bottom and top of the run
- The stair pitch in degrees, or the rise and run of one step
Calculate Frame Positions Along the Slope
A staircase wall is a sloped plane, so horizontal spacing and vertical spacing are not the same thing. The repeatable method is to work in slope distance, not floor distance.
- Measure the rise and run of one step. Most residential stairs fall in a common range, but measure yours rather than assuming.
- Calculate the pitch angle: pitch = arctan(rise ÷ run). If you do not have a scientific calculator, a digital angle finder held against the stair stringer gives the same number.
- Convert your desired spacing into slope distance. If you want 3 inches of visual gap between frames, the center-to-center distance along the diagonal is the frame width plus 3 inches. Do not measure that gap horizontally; measure it parallel to the stair line.
- Mark the centerline at the bottom frame's center height, then step up the slope by the center-to-center distance for each subsequent frame. A chalk line snapped parallel to the stair pitch makes this a series of tick marks rather than a series of measurements.
- For a multi-column arrangement, offset each column by the same slope distance so the columns stay parallel to the stairs. A common pattern is to keep the vertical offset between columns equal to half the center-to-center distance, which staggers the frames without breaking the diagonal.
A worked example: if your frames are 16 inches wide and you want 3-inch gaps, the center-to-center distance is 19 inches along the slope. Starting from the bottom frame center, each next frame center sits 19 inches farther up the diagonal.
Map the Layout on Paper Before You Touch a Hammer
Cut paper templates to the exact size of each frame. Tape them to the wall along your diagonal guide.
This is where the layout either works or doesn't. If you want a more detailed method for testing placement before you commit, our guide on how to visualize art in your space walks through it step by step.
Adjust until the group feels balanced. Only then mark the hanging points through the paper.
Watch out: if you mark hanging points from the frame's top edge instead of its center, a mixed-size arrangement will drift off the diagonal even when every individual measurement is correct.
Here are the key measurements and steps the article recommends working through before you hang a single frame.
| Step | What to do | Key figure or note |
|---|---|---|
| Set frame center height | Keep centers consistent above the stair line | Roughly 57 to 60 inches vertically from each step |
| Find the centerline | Mark above the middle of the run, then run a chalk line or laser down | Same angle as the stair pitch |
| Record wall numbers | Note slope length, height at bottom and top, stair pitch | Three numbers before going further |
| Calculate pitch | pitch = arctan(rise ÷ run) | Or use a digital angle finder on the stringer |
| Convert spacing | Measure gaps parallel to the stair line, not horizontally | 16-inch frames with 3-inch gaps = 19 inches center-to-center |
| Offset columns | Stagger each column by the same slope distance | Half the center-to-center distance is a common pattern |
| Map on paper | Cut templates to frame size, tape along the diagonal guide | Mark each template's center, then measure down to the hanger |
Build a Staircase Wall Gallery Template That Fits Your Space
A staircase wall gallery template is a paper or cardboard mock-up of your full arrangement, cut to scale and taped in place before any hardware goes up.
Two template styles work well on stairs:
The full-scale paper method. Trace each frame onto kraft paper, cut it out, and tape the pieces to the wall. Best for mixed sizes.
The grid method. Tape out one rectangle for the whole group, then divide it into equal cells. Best for uniform frames.
Whichever you pick, mark the hanger position on the template itself. Then drill straight through the paper. No measuring twice at height.
Small Gallery Wall Arrangements for Staircases That Still Feel Full
A narrow stair wall does not need fewer pieces. It needs tighter editing.
The trick is to go tall rather than wide. A vertical stack of three frames following the slope fills a narrow wall better than a horizontal row that gets cut off by the stair rail.
Keep these in mind for compact spaces:
- Choose one large anchor piece and two or three small companions
- Keep spacing tight, around 2 to 3 inches
- Skip the outer columns; a single-file diagonal reads clean
For more layout options built for tight spaces, see our DIY gallery wall layouts for small spaces.
Modern Gallery Wall Arrangements for Staircases: Clean Lines and Mixed Frames
Modern staircase arrangements lean on restraint: fewer frames, cleaner lines, and a deliberate mix rather than a matched set. The look comes from contrast, not uniformity.
Matching everything can make a staircase wall feel static rather than dynamic.
What works instead:
- Two frame finishes maximum. Warm wood and matte black, or brass and white.
- One shape rule. All rectangles, or rectangles plus one round piece as an accent.
- Consistent spacing. The mix lives in the frames, not the gaps.
If you are blending vintage frames with new ones, our guide on curating a gallery wall with mixed styles covers how to keep it cohesive.
Hang Safely on Stairs: Wall Types, Hardware, and Renter-Friendly Options
Safety is the part most guides skip, and it matters most on stairs. You are working at height, on an uneven surface, often alone. Plan the job so you never overreach.
Set Up the Ladder Before You Touch the Wall
Stair treads are not level, so a standard step ladder may not sit flat on them. The safer setup is a ladder with adjustable legs, or a step ladder placed on the landing with the top step facing the wall you are working on.
A few rules that prevent most stair-ladder accidents:
- Keep three points of contact: two feet and one hand, or two hands and one foot.
- Never stand on the top cap or the top step of a step ladder.
- Have a helper foot the ladder or hold the frame while you drill.
Watch out: drilling overhead on a staircase puts your face close to the wall and your weight behind the drill. If the bit binds, the drill can kick back toward you.
Match Hardware to the Wall, Not the Frame
Start with the wall. Drywall needs a stud finder or self-drilling anchors. Plaster holds better with toggle bolts. Brick and block need masonry anchors and a hammer drill. Match the hardware to the wall, not to the frame.
A practical way to choose:
- Drywall with a stud behind the hanger: use a wood screw into the stud. This is the strongest option for any frame.
- Drywall without a stud: use a self-drilling anchor rated for the frame's weight. Most picture-hanging anchors are rated in the 20 to 50 pound range, but check the package rather than assuming.
- Plaster and lath: toggle bolts spread the load behind the lath. Plaster is brittle, so drill a pilot hole and avoid over-tightening.
Locate studs before you map the layout, not after. Stud positions constrain where the heaviest frames can go, and it is easier to shift a paper template than a drilled hole.
Plan for Children, Pets, and Renters
Then think about who uses the stairs:
- Keep the bottom 12 inches of wall clear so nobody clips a frame
- Use closed-eye hooks or security hangers near handrails
- Avoid glass in the lowest frames if small children or large dogs use the stairs
Renters have options. Adhesive strips work for light frames, and damage-free hanging systems handle more weight. Our guides on hanging abstract paintings without nails and hanging art in rentals without damage cover the methods in detail.
Watch out: never stand on a stair tread with a drill in one hand and nothing to steady you. Use a step ladder set on the landing, and have someone foot it.
Light, Glare, and the View From the Bottom Step
Stairwells collect glare. A window at the top or a light fixture at the landing will bounce off glass and wash out the art below it.
Matte finishes and anti-glare glass help. So does placement: keep the most important piece on the wall section that gets even, indirect light rather than the brightest patch.
Then check the view. Stand on the bottom step and look up. That is the angle most people see your staircase gallery wall from.
Choose Artwork That Earns Its Place on the Stair Wall
Stair walls are seen in passing, in fragments, at an angle.
Abstract paintings with bold movement and vivid color can hold up when seen at a glance from the stairs.
A staircase is a transition space. Art with energy suits it.
A staircase gallery wall rewards planning more than any other wall in the house.
Susan Fielder Art offers original abstract paintings that bring color and meaning to the space.
Frequently Asked Questions
How much space should be between frames in a staircase gallery wall?
Design guidance for staircase gallery walls calls for consistent gaps rather than eyeballed spacing. Common design guidance suggests 2 to 3 inches for vertical spacing and 2 to 4 inches for horizontal spacing, while other guides cite ranges from 2 to 6 inches. Pick one number within that range and repeat it everywhere. Consistent gaps are what make a diagonal arrangement read as one cohesive unit instead of a scatter of frames.
How do you keep frames aligned on a sloped staircase wall?
Stop trying to align frames to a horizontal level line. Many design guides advise following the pitch of the stairs with a diagonal baseline, so the arrangement rises at the same angle as the handrail. Mark that baseline on the wall with painter's tape first, then position each frame's center on it. The eye reads the diagonal as intentional, and small height differences between frames stop being noticeable.
Are gallery walls out of style in 2026?
No. Design coverage in 2026 focuses on curating a vertical narrative along the staircase rather than retiring the format. The shift is toward deliberate composition: mixed frame sizes, vintage and antique frames alongside new ones, and arrangements that guide the eye up the slope. Uniform grids of identical frames are the look that feels dated, not gallery walls themselves.
Can I hang a staircase gallery wall in a rental?
Yes. Command strips and adhesive hooks handle lightweight frames and prints, and removable wallpaper or a leaning shelf on the landing avoids holes entirely. Check the strip's weight rating against the frame plus glass, and skip adhesive on textured or freshly painted walls. For heavier pieces, a single small nail per frame leaves a patchable hole and holds far more weight than adhesive.