 how-to
How to Hang Oversized Wall Art Securely
Table of Contents
- How to Hang Oversized Wall Art Securely: What You'll Need
- Choosing the Best Heavy Duty Wall Anchors for Drywall
- How to Measure for Gallery Height and Placement
- Finding Wall Studs and Marking Installation Points
- French Cleat Installation Guide for Heavy Artwork
- Step-by-Step Installation Process
- Common Mistakes to Avoid
- Frequently Asked Questions
Last Updated: October 16, 2026
How to Hang Oversized Wall Art Securely: What You'll Need
To hang oversized wall art securely requires planning before you drill your first hole. The wrong approach leaves you with damaged walls and artwork that shifts over time. The right approach keeps your piece stable for years.
At Susan Fielder Art, we understand that choosing the perfect abstract painting is just the first step. Getting it on your wall safely is what transforms that investment into a centerpiece that stays put.
Assessing Your Artwork Weight and Dimensions
Start by knowing exactly what you're working with. Measure your artwork's height and width, then find its weight. Check the back of the frame or ask the seller if weight isn't listed.
Weight matters because it determines which hardware you need:
- Light pieces (under 10 pounds): simple nails or picture hooks work fine
- Medium pieces (10-50 pounds): heavy-duty anchors or studs required
- Oversized pieces (50+ pounds): French cleats or multiple anchor points needed
Oversized wall art often weighs more than you'd expect. A large canvas with a thick frame adds up quickly. Never guess at weight, verify it before selecting your hardware.
Identifying Your Wall Type
Different walls need different fasteners. Drywall is common in most homes but has limits. Plaster walls behave differently. Masonry requires specialized anchors.
Run your hand across the wall surface. Drywall feels smooth and can be dented with pressure. Plaster feels harder and smoother. Masonry is rough and uneven.
Drywall walls are the most common. They're softer and require anchors to distribute weight. Hitting a stud provides maximum support.
Plaster walls are stronger than drywall but more brittle. Anchors can crack plaster if over-tightened.
Masonry and brick need masonry-specific anchors. Standard drywall anchors won't work here.
Choosing the Best Heavy Duty Wall Anchors for Drywall
Heavy duty wall anchors for drywall come in several types. Each has different load capacities and uses.
Anchor Types and Load Capacity
Toggle bolts hold the most weight. They expand behind the wall and grip firmly. A single toggle bolt can hold 50-100 pounds depending on size.
Molly bolts work similarly to toggle bolts but are easier to install. They expand as you tighten them. Load capacity ranges from 25-50 pounds per bolt.
Expansion anchors (plastic anchors with screws) are affordable and common. They work well for light to medium pieces.
Heavy-duty anchors specifically rated for oversized pieces exist. Look for anchors rated for 50+ pounds. These are thicker and made from stronger materials.
The key is matching the anchor to your piece's weight. Using a 10-pound anchor for a 50-pound artwork will fail.
Matching Hardware to Artwork Weight
Calculate total weight including the frame. A large canvas painting plus its frame might weigh 40 pounds. You need anchors rated for at least that much.
For oversized wall art, use multiple anchor points rather than one strong point. Two anchors each rated for 30 pounds is safer than one rated for 60 pounds. If one anchor fails, the other holds the piece.
Space anchors evenly. For a large frame, place anchors near the top corners. This distributes weight and prevents tilting.
How to Measure for Gallery Height and Placement
Proper placement makes your artwork look intentional. Bad placement makes even beautiful pieces feel off.
The Standard Eye-Level Rule
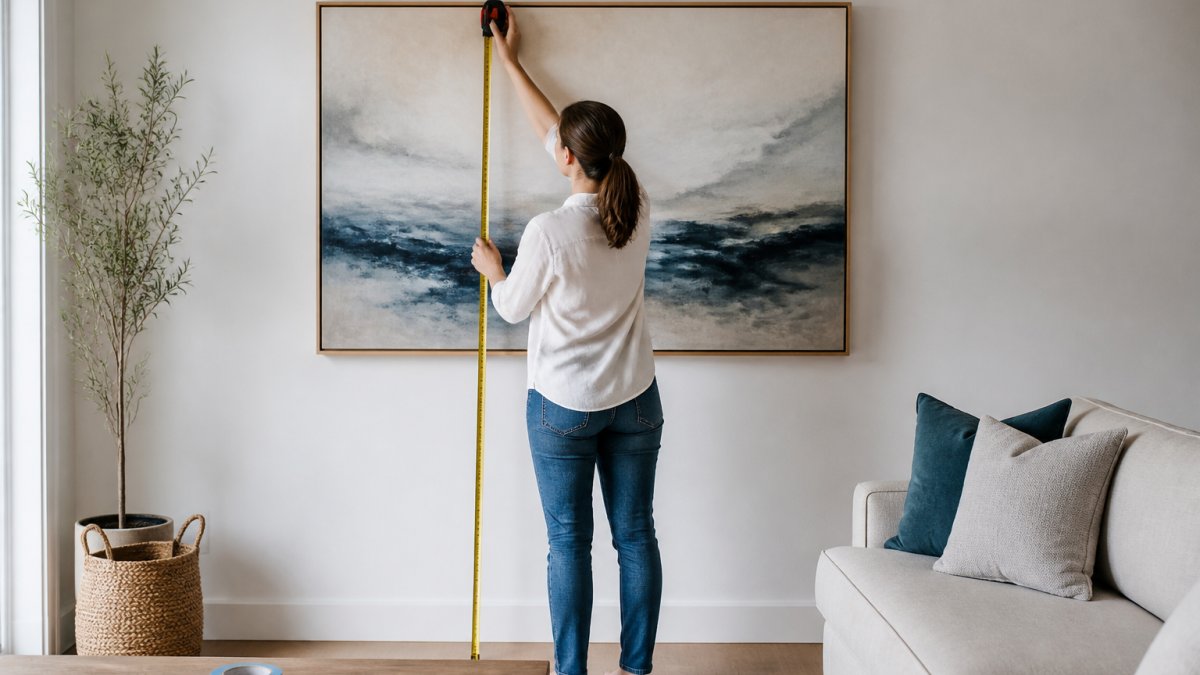
The center of your artwork should sit at eye level when you're standing in front of it. Eye level is approximately 57-60 inches from the floor for most people.
This creates a natural focal point. Visitors naturally look at that height. Your piece becomes the visual anchor of the room.
For oversized wall art above furniture, measure from the top of the furniture instead. A painting above a sofa should sit 8-10 inches above the sofa back. This creates visual balance.
Positioning Above Furniture
Artwork above a sofa, bed, or shelf needs different math. The piece shouldn't float too high or sit too low.
Measure the furniture height. Add 8-10 inches for spacing. That's where the bottom of your frame should land.
For a sofa that's 36 inches tall, the bottom of your artwork should be around 44-46 inches from the floor. This looks intentional and balanced.
If your piece is very large, you might sit it lower. A huge oversized piece can sit just 6 inches above furniture and still look right.
Finding Wall Studs and Marking Installation Points
Studs provide the strongest support. A stud is a wooden beam behind the drywall running vertically. Anchoring into a stud beats any drywall anchor.
Using a Stud Finder for Secure Support
A stud finder is a small electronic device that detects studs behind drywall. They cost $15-40 and take seconds to use.
Run the stud finder horizontally across the wall at the height where you want to hang your piece. It beeps when it crosses a stud. Mark both edges of the stud with a pencil.
Studs are typically 16 inches apart. Once you find one, you can estimate where others are. Measure 16 inches left and right to predict the next stud.
For oversized wall art, try to use at least one stud. Two studs is even better. Anchoring into studs eliminates the guesswork of drywall anchors.
Marking and Double-Checking Placement
Use a pencil to mark where anchors go. Mark lightly so you can erase mistakes.
Measure twice before marking. Measure from the floor to the center point. Measure from the sides to ensure the piece is centered.
Step back and look at your marks. Do they look balanced? Does the placement feel right? Adjust before drilling.
A simple template helps. Trace your frame onto kraft paper. Tape the paper to the wall. This shows exactly where the frame will sit. Remove the paper once you're confident.
French Cleat Installation Guide for Heavy Artwork
A French cleat is two pieces of wood cut at matching angles. One piece mounts to the wall. The other mounts to your frame. They hook together for rock-solid support.
Why French Cleats Work Best for Oversized Pieces
French cleats distribute weight along the entire top of the frame. They don't rely on a single anchor point. This is why they're ideal for oversized wall art.
A French cleat rated for 100 pounds holds that weight across the full width of the cleat. Standard anchors concentrate force in one spot. That spot eventually fails.
French cleats also make removal easy. Your artwork unhooks cleanly. No damage to the frame. No struggle to pull it down.
They work on any wall type. Drywall, plaster, masonry, French cleats work everywhere. Install the wall-mounted cleat into studs for maximum security.
Step-by-Step French Cleat Installation
Step 1: Get your cleats. Buy pre-made French cleats rated for your artwork weight, or cut your own from 1x4 lumber at a 45-degree angle.
Step 2: Locate studs. Use your stud finder to mark studs at the height where you want your artwork.
Step 3: Install the wall cleat. Hold the wall-mounted cleat against the studs at your marked height.
Step 4: Attach the frame cleat. The matching cleat mounts to the back of your frame.
Step 5: Hook them together. Lift your artwork and hook the frame cleat onto the wall cleat.
Step 6: Check stability. Gently push the frame side to side and top to bottom. It should not move.
Step-by-Step Installation Process
Drilling and Fastening Hardware
Gather your tools before you start. You'll need a drill, the correct drill bit size for your anchors, a level, and a screwdriver.
Step 1: Choose the right drill bit. Anchor packages tell you the hole size. Use a drill bit that size.
Step 2: Drill slowly and straight. Position the drill perpendicular to the wall. Drill at a steady speed. Don't force it.
Step 3: Insert the anchor. Push the anchor into the hole. Tap it gently with a hammer if needed.
Step 4: Screw in the fastener. For expansion anchors, tighten the screw until snug. Don't over-tighten.
Step 5: Test the anchor. Gently pull on the screw. It should not move. If it spins freely, the anchor didn't set properly.
Lifting and Positioning the Artwork
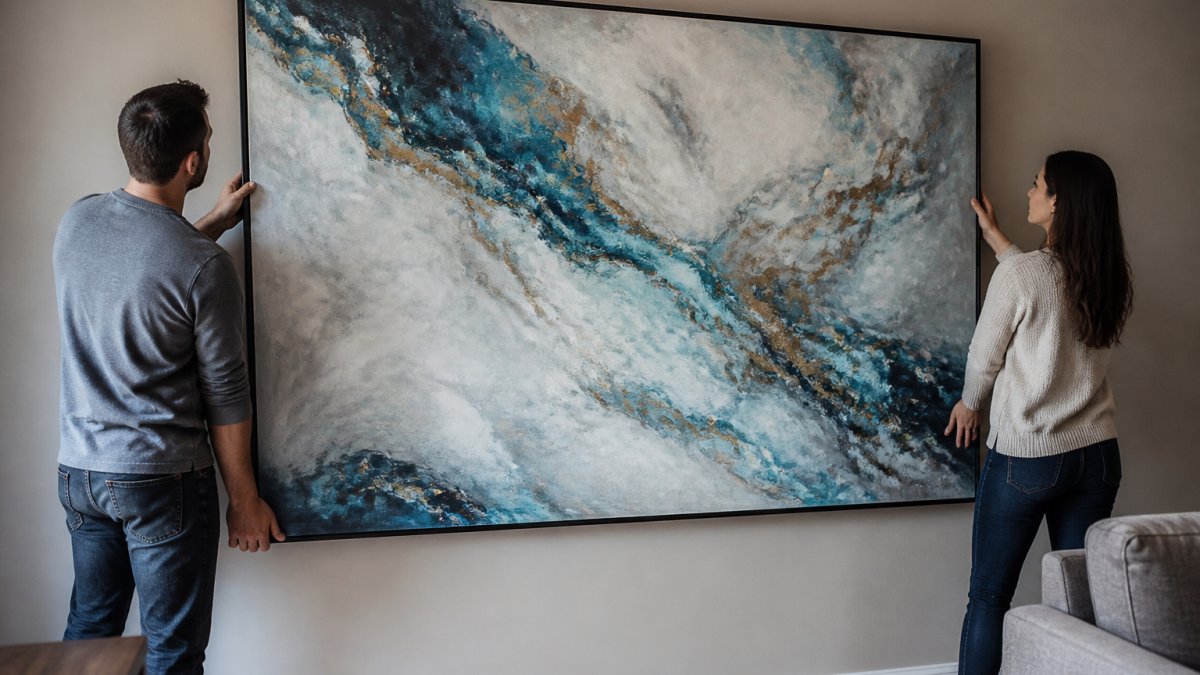
Oversized wall art is heavy. Get help. Two people lift safely. One person can drop it or lose grip.
Step 1: Prepare the lifting. One person holds the bottom. One person supports the top. Lift together on the count of three.
Step 2: Position carefully. Guide the hanging hardware onto the anchors or French cleat. Go slowly. Rushing causes misalignment.
Step 3: Check alignment. Before you let go, verify the piece sits where you marked it. Look at it from different angles.
Leveling and Final Adjustments
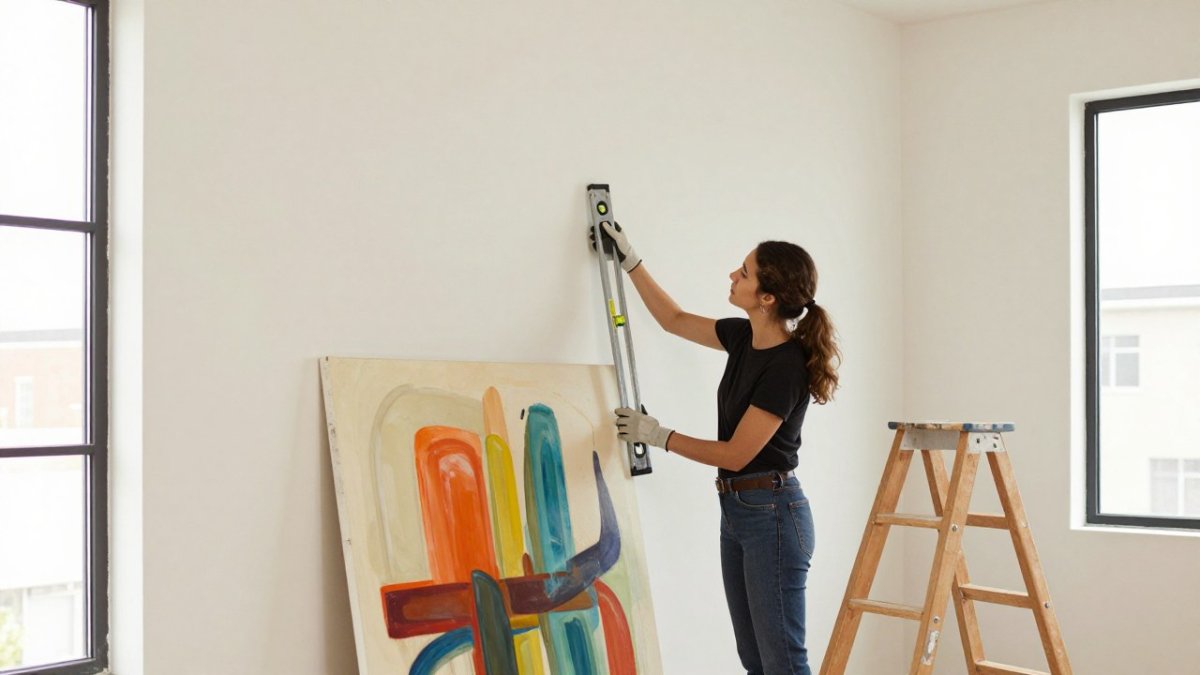
A level is essential. Even slightly tilted artwork looks wrong.
Step 1: Place the level on top of the frame. The bubble should center in the vial. If it doesn't, adjust the frame.
Step 2: Adjust one side. Loosen one anchor slightly. Tilt the frame until level. Tighten the anchor again.
Step 3: Check from multiple angles. Step back and look from across the room. Look from the side. The piece should appear perfectly level.
Step 4: Tighten everything. Once level, ensure all fasteners are snug. Don't over-tighten. Snug is enough.
Common Mistakes to Avoid
Skipping the weight check. You can't choose the right hardware without knowing weight.
Using one anchor for heavy pieces. Multiple smaller anchors are safer than one large anchor. Distribute the load.
Ignoring the wall type. Drywall needs different anchors than plaster or masonry. Using the wrong anchor type causes failure.
Drilling in the wrong spot. Measure multiple times. Use a template. Verify placement before drilling.
Over-tightening fasteners. Tight is good. Over-tight strips anchors and damages walls. Snug is enough.
Hanging without a level. Tilted artwork looks careless. Always verify level before you finish.
Hanging alone. Oversized pieces are heavy. Two people prevent drops and injury. Get help.
Hanging oversized wall art securely takes planning, the right hardware, and careful installation.
Frequently Asked Questions
What's the best way to hang oversized wall art without damaging drywall?
Use heavy-duty wall anchors rated for your artwork's weight, or install into wall studs for maximum security. French cleats distribute weight across a larger area and reduce wall damage compared to single fasteners. For extra protection, use a template method: trace your frame onto paper, tape it to the wall to preview placement, then mark anchor points. This approach lets you plan before drilling and minimizes unnecessary holes.
How do I choose the best heavy duty wall anchors for drywall?
Match anchor type to your artwork weight: toggle bolts handle 50-100 lbs per anchor, molly bolts support 25-50 lbs, and heavy-duty expansion anchors manage 75-100 lbs. Always check the load capacity rating on the packaging. For oversized pieces exceeding 100 lbs, use multiple anchors or mount into wall studs. Install anchors perpendicular to the wall surface and ensure the frame's hanging hardware aligns with anchor placement for even weight distribution.
What is the correct height for hanging oversized wall art?
Hang artwork with its center at approximately 57-60 inches from the floor (eye level for most people). If positioning above furniture, place the bottom edge 8-10 inches above the furniture surface. For gallery-style arrangements with multiple pieces, maintain 2-3 inches between frames. Measure from the floor to your anchor points, use a level to verify alignment, and consider the room's ceiling height and viewing distance when finalizing placement.
Can I use a French cleat installation guide for all oversized artwork?
French cleats work exceptionally well for most oversized pieces because they distribute weight evenly across multiple fasteners and allow easy adjustment. Install one cleat to wall studs or heavy-duty anchors, attach the corresponding cleat to the frame's back, then hang the frame on the wall-mounted cleat. This method is ideal for artwork 50 lbs or heavier and is particularly effective in rental spaces because it minimizes wall damage compared to traditional nail or single-anchor approaches.