 how-to
How Do You Set Up a Zero-Waste Art Studio?
Quick Summary
A zero-waste art studio is set up by planning before you buy, then working zone by zone: the work surface, the cleaning station, storage, and finished work. Start by mapping your work zones and listing your weekly waste, then pick your top three waste sources and set one goal per zone.
- Map four work zones: painting, cleaning, storage, and finished work.
- Use a two-bucket system: one for rinse water and one for settled sludge.
- Choose a reusable surface like tempered glass, sealed butcher block, or a washable canvas drop cloth.
- Run a waste audit for one month, then set one measurable goal for the largest waste group.
- Let water-based paint dry out and store solvents in sealed, labeled containers for disposal.
Table of Contents
- Why a Zero-Waste Art Studio Starts With a Plan
- Choosing and Organizing a Small Home Art Studio
- Building Your Zero-Waste Supply List
- Reusing Leftover Art Materials Instead of Throwing Them Away
- Responsible Disposal of Paint, Solvents, and Rinse Water
- Running a Waste Audit and Setting Reduction Goals
- Your Next Step: Set Up Your First Studio Zone This Week
- Frequently Asked Questions
Why a Zero-Waste Art Studio Starts With a Plan
Last Updated: October 29, 2026
Setting up a zero-waste art studio is less about buying the right green products and more about deciding, before you start, what you will stop throwing away. Artists who want to reduce waste often buy a few "eco" supplies, keep their old habits, and end up with the same trash bin full of tubes and rinse water. A plan fixes that.
Start by walking through the studio you already have. Note where paint gets mixed, where brushes are cleaned, where scraps pile up, and where supplies get stored. Each of those spots is a place waste either happens or can be prevented.
Plan your studio in five steps:
- Map your work zones. Mark the painting area, cleaning area, storage area, and finished-work area.
- List what you throw away each week. Include paper, plastic, paint tubes, rags, and cleaning water.
- Pick your top three waste sources. Focus on the biggest ones first.
- Set one goal per zone. For example, "no new single-use plastic cups in the paint area."
- Track progress monthly. A simple tally on a sticky note is enough to start.
A common mistake is trying to change everything in one weekend. That usually leads to burnout and a return to old habits. Changing one zone at a time is easier to keep up.
Choosing and Organizing a Small Home Art Studio
Most home studios are small, so organization matters more than square footage. A clear layout cuts down on waste because you can see what you have, avoid buying duplicates, and keep clean and dirty materials from mixing. The most useful way to organize a zero-waste studio is by zone, not by supply type, each zone gets its own containers, its own cleanup routine, and its own waste stream. Keeping each zone’s containers and cleanup routine consistent also makes it easier to carry low-waste habits into the rest of the home, a principle reflected in The Artisan Square.
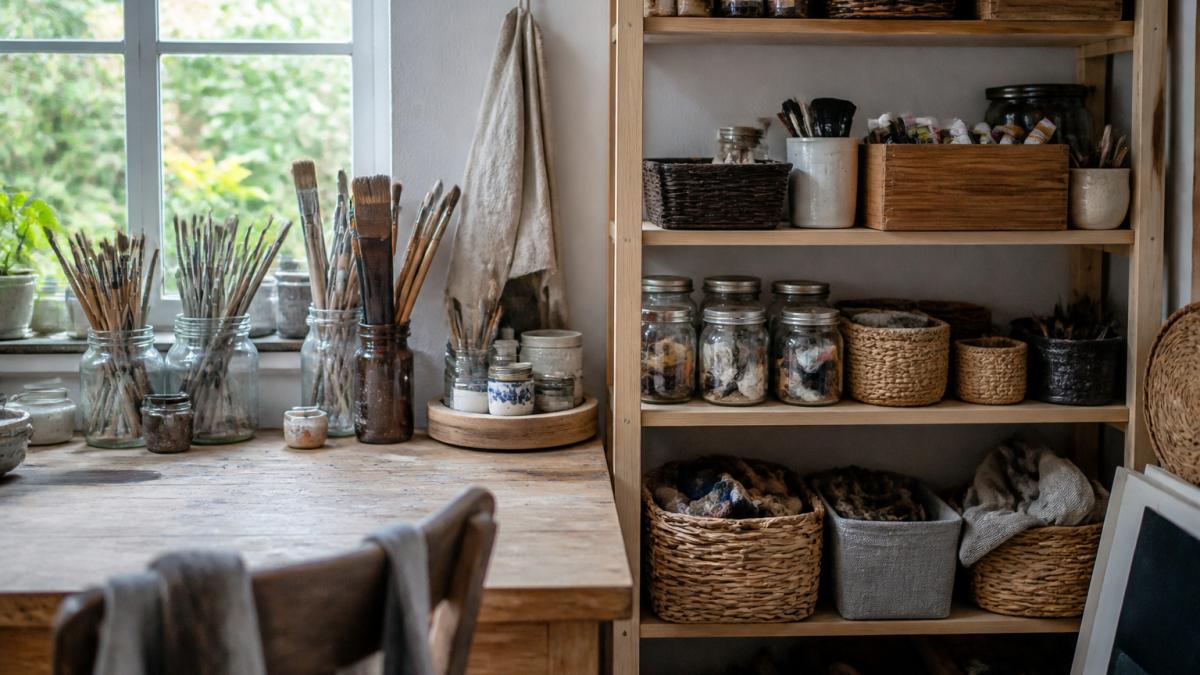
A Zone-by-Zone Setup Checklist
Use this checklist to set up each zone in order. Finish one zone before starting the next so you don't end up with half-built systems everywhere.
Zone 1, Work surface (mixing and painting)
- Cover the table with a reusable surface: a tempered glass pane, a sealed butcher block, or a heavy canvas drop cloth you can wash.
- Set out a refillable palette (ceramic, glass, or a reusable plastic tray) instead of disposable palette paper.
- Keep a lidded jar for clean water and a second lidded jar for dirty rinse water.
- Place a small scrap bin (not the trash) at arm's reach for paper and tape offcuts.
- Add a lidded container for paint skins and dried leftovers so they don't contaminate recycling.
Zone 2, Cleaning and rinse station
- Set up a two-bucket system: one bucket for rinse water, one for settled sludge.
- Keep a stack of reusable rags (cut-up cotton T-shirts work well) and a lidded bin for dirty rags.
- Add a small strainer or mesh sieve to catch solids before water goes down a drain.
- Post a laminated card listing what can and cannot go down the sink.
Zone 3, Storage
- Group supplies by medium, not by package size, so you can see what you already own.
- Use clear or labeled containers: glass jars for brushes, tins for small tools, cardboard boxes for scrap.
- Keep a "use-first" bin at eye level for opened tubes, partial bottles, and short ends.
- Store solvents in a sealed, labeled metal cabinet away from heat and out of reach of children and pets.
Zone 4, Finished work and shipping
- Keep a flat file or portfolio for finished pieces to prevent damage and rework.
- Save boxes, bubble wrap, and padded envelopes from incoming shipments in one labeled bin.
- Set a rule: ship in reused packaging first, buy new only when nothing fits.
Lighting, Ventilation, and Water Access
Good light helps you see colors accurately, so you're less likely to waste paint on mistakes. Place your work area near a window when you can, and add a daylight-style lamp (look for a color temperature near 5000-6500K) for evening work.
Ventilation matters most when you use solvents, aerosol fixatives, or strong-smelling mediums. Open a window or run a fan that exhausts air out of the room, not just around it, and choose low-odor or water-based products when possible. If you work with oil paints or solvents regularly, a simple box fan in a window pulling air outward is a common low-cost setup.
Water access makes cleaning easier and cuts down on wasted cleaning materials. A bucket and a small sink or basin near your work area is often enough. Keep a reusable rag and a jar for rinse water so you can reuse clean water for cleaning tasks. If you don't have a sink, a 5-gallon bucket with a lid works as a portable wash station, and you can carry it to a utility sink when it's full.
Protecting Floors and Work Surfaces
Floor and surface protection is where a lot of hidden waste lives, plastic drop cloths get thrown away after every session. A washable canvas drop cloth, a sheet of tempered glass over the table, or a sealed concrete or linoleum floor you can wipe down will outlast hundreds of disposable alternatives. Keep a dedicated rag or sponge for wiping surfaces so you don't burn through paper towels.
Building Your Zero-Waste Supply List
Your supply list is where most waste is decided. Buy fewer, better-quality items you will actually use up, and check what you already own before you shop.
Build your list around three questions:
- Can I reuse or refill this item?
- Does it come with less packaging?
- Will I finish it before it dries out or expires?
Low-Waste Alternatives by Medium
Different art forms create different waste, so match your swaps to your medium:
- Painting: Use refillable palettes, buy larger tubes instead of many small ones, and use a reusable paint tray in place of plastic palette sheets.
- Drawing: Choose pencils with replaceable leads, use sketchbooks with recycled paper, and keep a set of erasers you can reuse.
- Printmaking: Use water-based inks and reusable brayers. Keep scrap paper for test prints.
- Mixed media and collage: Keep a box of cardboard and paper scraps for future projects.
Read product labels carefully, since "natural" is not always regulated and can be used loosely.
The article's three questions and medium-specific swaps can be summed up as follows.
| Medium | Low-waste swap | Key habit |
|---|---|---|
| Painting | Refillable palette, larger tubes | Reusable paint tray instead of plastic sheets |
| Drawing | Pencils with replaceable leads | Reusable erasers, recycled-paper sketchbooks |
| Printmaking | Water-based inks, reusable brayers | Keep scrap paper for test prints |
| Mixed media and collage | Save cardboard and paper scraps | Store scraps for future projects |
Reusing Leftover Art Materials Instead of Throwing Them Away
Leftover materials are one of the easiest waste sources to reduce. Many artists throw away paint that is still usable, scraps that could be collaged, and jars that could hold brushes.
Try these habits:
- Save paint scraps on a sheet of glass or plastic, then peel them off to use in collage.
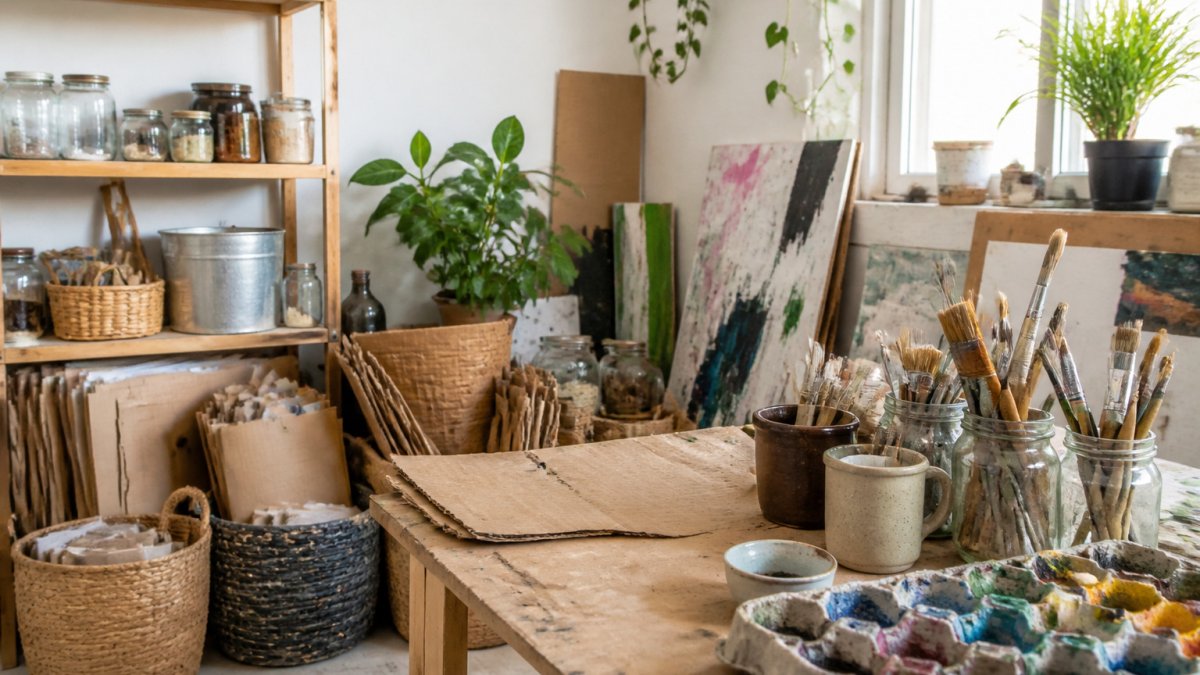
- Keep a "scrap box" for paper, fabric, and cardboard.
- Turn old tubes into a sketch palette by squeezing the last bits onto a reusable surface.
- Give unused supplies to a school, community art group, or local reuse center.
A small rule helps: before you throw anything away, ask whether another project or person could use it.
Responsible Disposal of Paint, Solvents, and Rinse Water
Some art materials cannot go in the regular trash or down the drain. Paint, solvents, and contaminated rinse water can harm plumbing, waterways, and people if handled badly.
Follow these basic steps:
- Let water-based paint dry out before disposing of it, or solidify leftovers with an absorbent material.
- Store solvents in sealed, labeled containers. Do not pour them down the drain.
- Let rinse water settle. Pour off the clear water where local rules allow it, and collect the sludge for disposal.
- Check your local household hazardous waste program. Many communities accept paints and solvents on specific days or at specific sites.
Watch out: pouring solvent or heavily pigmented rinse water down a storm drain can pollute local waterways. Always check the label and local rules first.
Running a Waste Audit and Setting Reduction Goals
A waste audit shows you where your waste actually comes from, so your goals are based on facts rather than guesses.
For one month, record everything you throw away from the studio. Sort it into groups such as paper, plastic, paint waste, and rinse water. At the end of the month, look at the largest group and set one specific goal for it.
Good goals are measurable. Examples include "reduce plastic packaging by half in three months" or "reuse 80 percent of scrap paper for collage." Review your numbers every month and adjust your plan.
Your Next Step: Set Up Your First Studio Zone This Week
You don't need to change your whole studio at once. Pick one zone, such as your cleaning area or your paint mixing spot, and set it up this week using the steps above. Label your containers, set up a rinse-water jar, and make a simple list of the supplies you use most.
Once that zone is working, move on to the next one. Over a few months, your studio will run with far less waste and far less guesswork.
Frequently Asked Questions
How do you set up a zero-waste art studio?
Start by mapping your studio into zones: painting, storage, cleaning, and disposal. Choose reusable tools such as washable palettes, glass jars, and refillable brushes, and set up a dedicated station for each task. Keep a small bin for residual scraps and a labeled jar for used rinse water so waste is sorted from the start. Review the setup after a month to see which items still generate trash and adjust from there.
What materials are best for a sustainable art studio?
Look for supplies with minimal packaging, such as bulk pigments, tubes or jars you can refill, and tools made from wood, metal, or natural fibers that last for years. Prioritize durability over novelty, since a brush you use for ten years creates less waste than several cheap replacements.
How do you reuse leftover art supplies?
Scraps of paper, cardboard, and fabric can become collage material, test sheets, or wrapping paper. Leftover acrylic or gouache can be saved in small airtight containers and rewet later, and dried paint skins can be collected for collage or texture work. Cardboard packaging makes useful palette boards and storage dividers. Keep a dedicated bin for reusable offcuts so they are easy to find when a project calls for them.
How can artists dispose of paint and solvents responsibly?
Never pour paint, solvents, or contaminated rinse water down a storm drain or onto soil. Let water-based paint dry out fully in a sealed container before placing it in household trash, and check local rules for disposal. Store solvents in labeled, closed containers and take them to a household hazardous waste collection site in your area. Many municipalities list these drop-off locations on their websites.
For more on choosing supplies, see our guide to Sustainable Art Materials for Eco-Conscious Creators. When you're ready to set up a workspace, our guide to lighting options for artist studios covers practical choices, and our list of core art supplies for professional artists can help you build a tight, low-waste kit.